Wireless Flash system for Olympus OMD

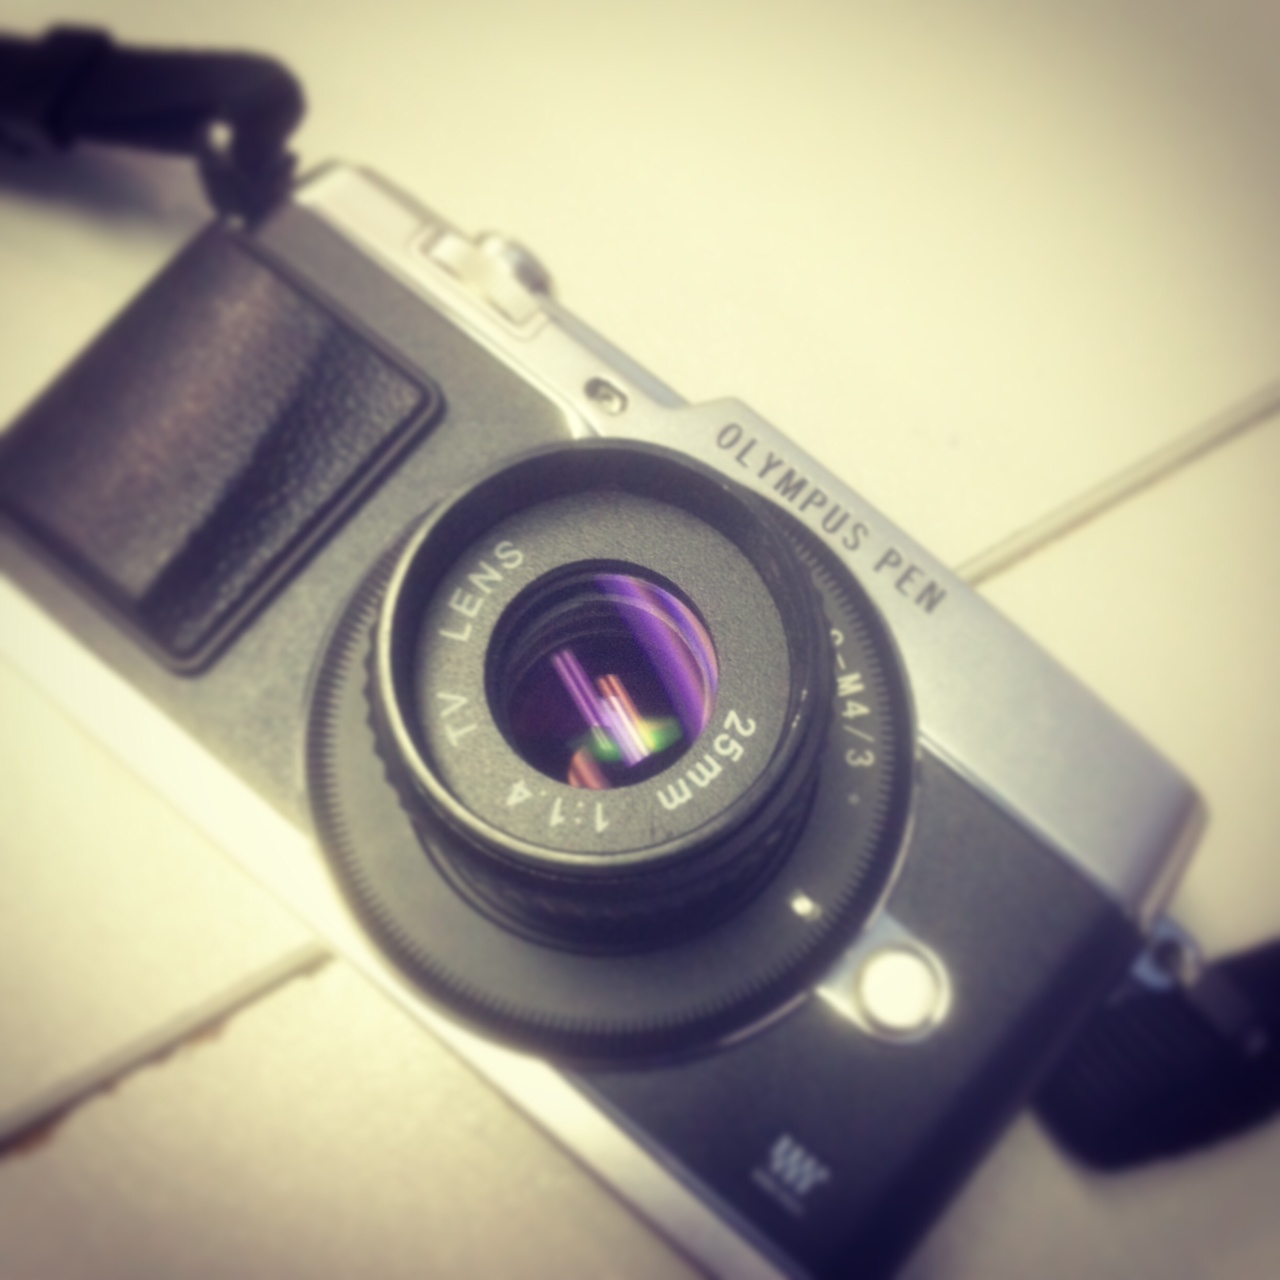
I have an Olympus M4/3 camera system for a while but been looking for a wireless flash system to go with it.  I have finally decided to give the Yonguo flash system a try.   My wireless flash system consists of a YN 560TX (transmitter) + 2x YN 560IV + 1x YN 560III.  Their output flash power have to be manually adjusted of course as there is no TTL with this system.  I tried them out for the first time yesterday with the YN560TX on my EM5II and a YN560IV on a softbox.  They seem to work well.  I just need to see how long they last as I've heard a few have experienced issue with the YN560IV, maybe on the earlier batches ?   Let's hope these will last because I really like them.  

Olympus OMD & Yongnuo YN560IV YN560III

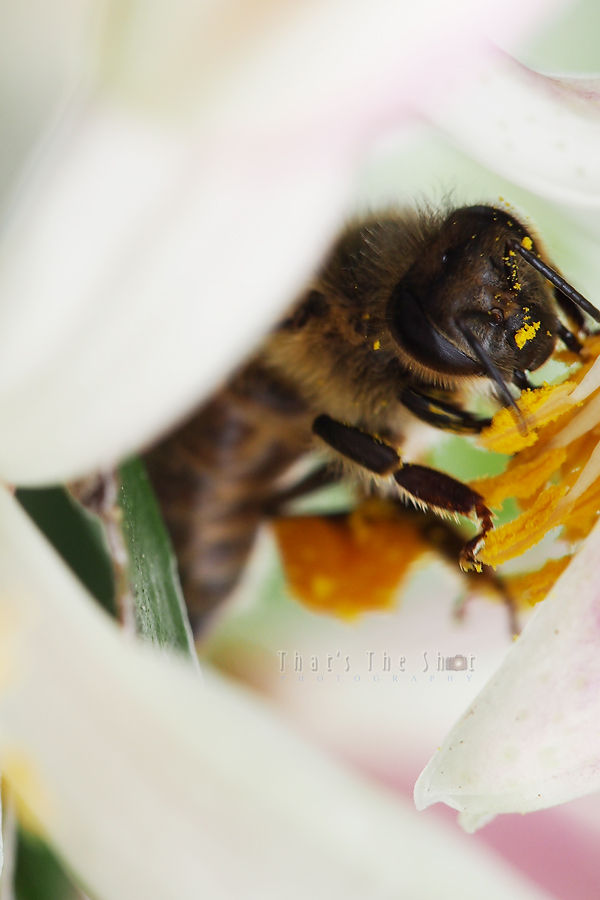
Below is the result of a shot from the test shoo with a YN560IV on a softbox on camera left.

Credits:

Model : Yasemin Islek

HMUA : Baby Doll Makeup Artistry

Crown : Chrysalini

Photography : That's The Shot

Olympus PEN E-P5

I recently purchased an Olympus PEN E-P5, I want a small camera that still gives me a lot of controls like a DSLR.  There are many of such camera on the market at the moment but I have decided on this one.  I quite like the look of the PEN, a bit of a retro look and should not grab much of people's attention when doing street photography.

Olympus PEN EP5

Olympus PEN EP5


Below are some photos taken by this camera with different lenses: 


Images taken with Olympus PEN EP-5 

DIY Lens Baby


I have been wanting to make a DIY Lens Baby for a while.   I found an article on the internet that provides information on how to build it.  Actually there are quite a few articles out there on how to build this but the one I've followed on this project is from this URL


The main material I've used in this project are:
* a Bronica Zenaznon-EII 75mm f2.8 (I got this from ebay)
* a M42 to EOS mount (to fit to my Canon camera body)
* M42 extension tube

* Cable Ties
 * Car Velocity Joint Boot


The instruction that I have followed has talked about the removing of the focusing ring off the lens.  However,  the Joint Boot that I've found happened to fit exactly on the end of this lens so I didn't remove the focusing ring off my lens.
I have to cut one end of the Joint Boot to shorten it's lens in order for me to be able to get the lens to a focusable distance.
 
I use cable ties to secure one end of the Joint Boot to the M42-EOS adapter (to fit my Canon camera)
 
I trimmed off the extra bit of the cable tie. 
 
The below shows how the finished lens fitted onto my camera.
Below are a few shots taken by this lens on a Canon 5D camera.  Manual focus (obviously) and taken in Manual mode.  I find the focusing very challenging


Good luck if you wish to attempt this project, it's not that hard.  Should you have any query, please feel free to contact me at :  Contact@ThatsTheshot.com.au


DIY Beauty Dish

A couple of years ago, I attempted to make a Beauty Dish to fit my Elinchrom strobes. I had my dad helped me to hand made the Elinchrom mount adapter (how silly of me as later on I have found out that you can actually buy ready made Elinchrom mount adapters from the internet for very cheap price).

This picture below sort of summarised the making process, pretty much self explanatory.

I found the light produced from the above piece pretty harsh (obviously due to the shiny stainless steel salad bowl).

So I sprayed the dish/bowl with a matt white and changed the small stainless steel bowl in front of the flashtube to a piece of thin plastic chopping broad cut out.

As you can see, the light produced from the below version is a lot better.

I think the light produce will be a lot softer if I have a deffuser sock/material on it to cover the front.

I will attempt to look for other shape dish/bowls to see if I am make another one in the near future since now I've bought a couple of the Elinchrom mount adapters.

Update - 17-3-2011

I have found 2 more dish/bowls. One (picture on the left) is about the same size of the one above but different shape (an aluminum wok ocver -very light weight) and the other one which I am still trying to paint is a bigger version of the above (65cm in diameter).

Below is an image taken with the above (left) dish on an Elinchrom Style 600 strobe on an Innovatronix explorer XT (

http://www.innovatronix.com/detailpage.asp?categoryid=42&productid=390&categoryname=Products%20and%20Services

)

Update: 6/5/2011.  I have since painted the larger BD and also purchase a Honeycomb Grid off ebay which has about the same diameter as my larger BD.  I've asked my father to help me to design a mount mechanism so I can fit the Honeycomb Grid onto my DIY BD.  Below are the result:

The first 4 photos on this shoot was shot with the small DIY Beauty dish (no grid) on an Elinchrom Style 600        

/2011/05/location-shoot.html

( All images Copyright (C)  Melbourne Photographer - 

That's The Shot Photography

 )